
If you’re building a shop with Elementor and WooCommerce, you might’ve noticed something missing:
there’s no native way to display the number of products being shown on the current page (like “Showing 1–12 of 48 products”).
Good news! You can absolutely build that in Elementor!
And it’s surprisingly straightforward once you understand how to combine a few dynamic tags, shortcodes, and a bit of custom code.
In this step-by-step tutorial, we’ll show you exactly how to display a dynamic product count that updates automatically with pagination detection.
💡 What You’ll Learn
By the end of this tutorial, you’ll be able to:
- Show “Showing X–Y of Z Products” dynamically
- Make it work with pagination
- Use it inside your Elementor Loop or Archive Templates
- Keep it fully responsive and lightweight
Let’s get started!
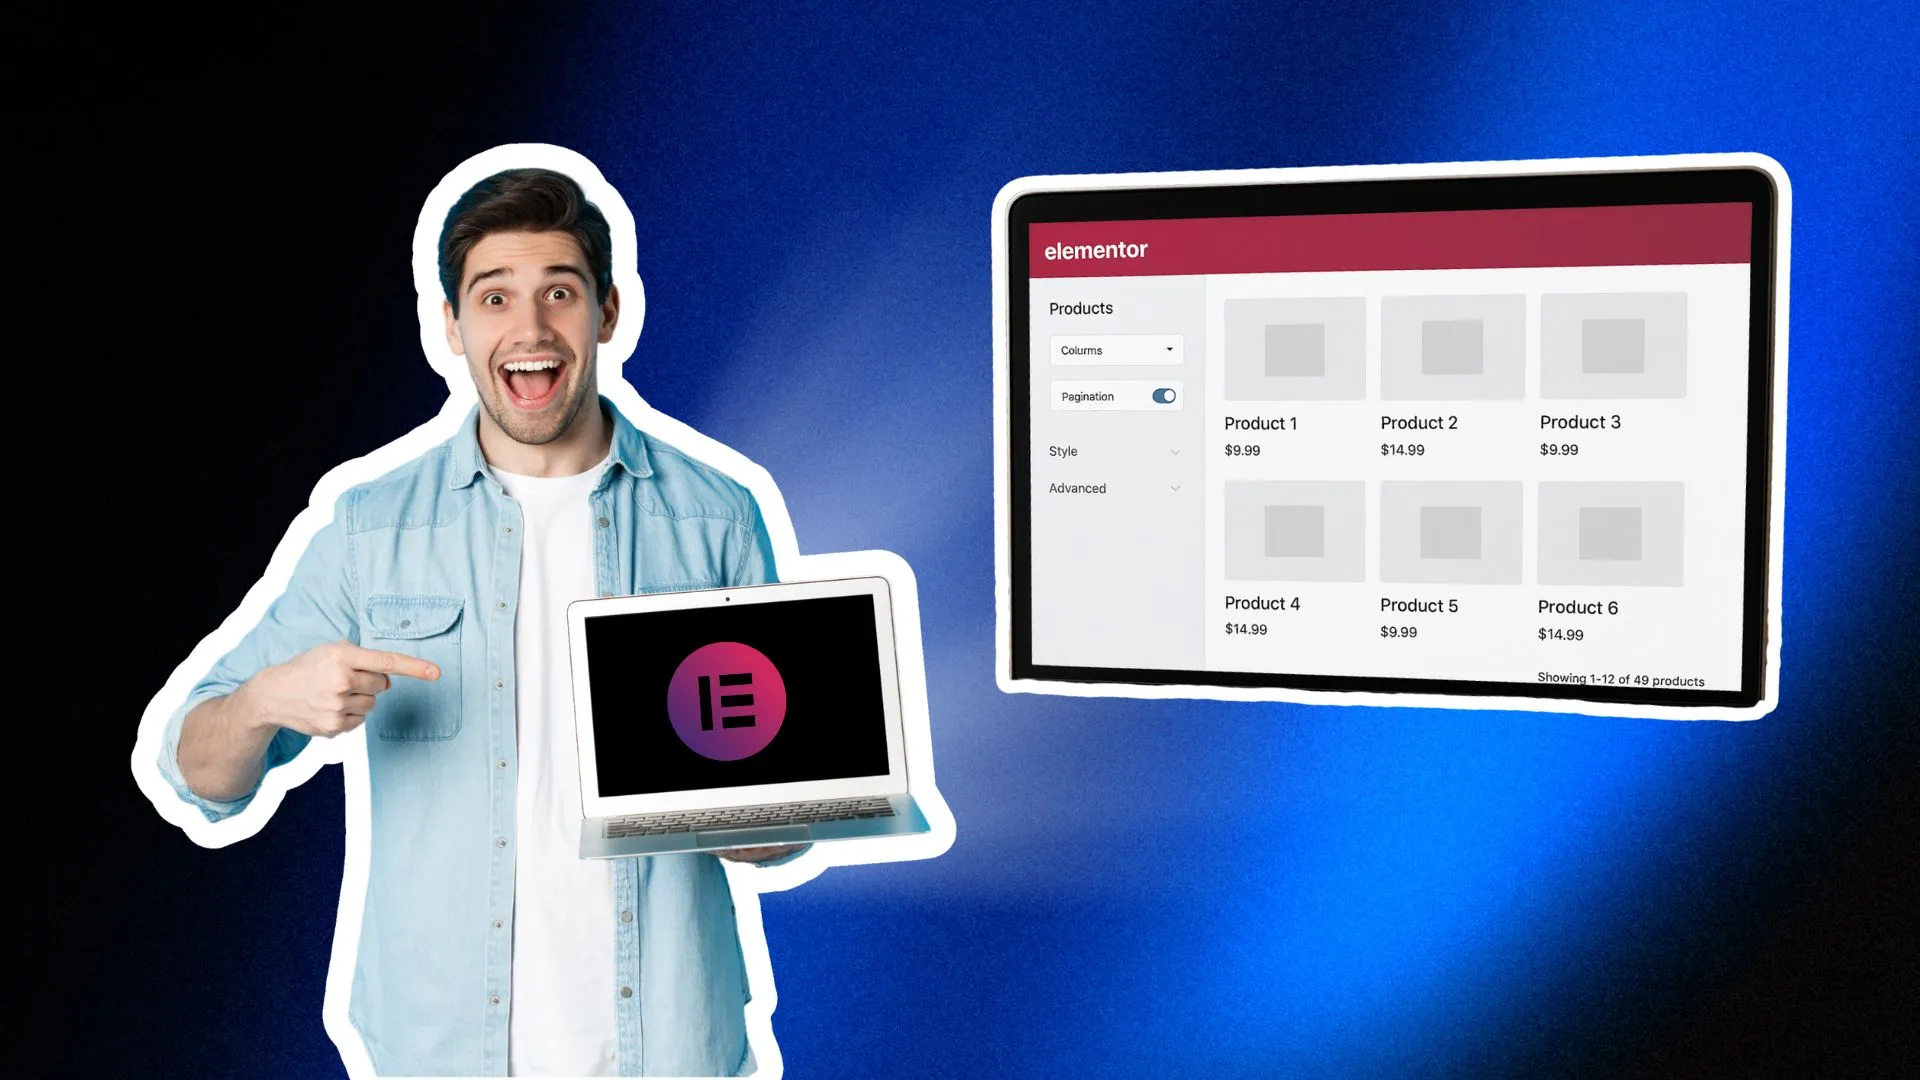
🧩 Step 1: Set Up Your Product Archive in Elementor

Before we add the product count, make sure you already have:
- WooCommerce installed
- A product archive or shop page created in Elementor (using Loop Grid or Products Widget)
You can use Elementor Pro’s Theme Builder → Archive Product to control your shop layout globally.
Once your layout is ready, we’ll add the dynamic product counter above or below your product grid.
🧰 Step 2: Add a Shortcode Widget
In your Elementor editor:
- Drag a Shortcode widget where you want your product count to appear (e.g., above your products).
- Paste the shortcode below (we’ll create the function next):
[product_count_display]
This shortcode will call our custom PHP function to dynamically calculate the visible product range and total count.
💻 Step 3: Add the PHP Function
Now, we’ll register a simple WordPress function that calculates the product count and pagination info.
Add this code to your child theme’s functions.php or a code snippets plugin:
function product_count_display_shortcode() {
global $wp_query;
// Ensure we’re in a product loop
if (!isset($wp_query) || empty($wp_query->found_posts)) {
return ”;
}
$paged = max(1, get_query_var(‘paged’));
$per_page = $wp_query->get(‘posts_per_page’);
$total = $wp_query->found_posts;
$first = ($paged – 1) * $per_page + 1;
$last = min($total, $paged * $per_page);
// Output format: Showing 1–12 of 48 products
return sprintf(‘<div class=”product-count”>Showing %d–%d of %d products</div>’, $first, $last, $total);
}
add_shortcode(‘product_count_display’, ‘product_count_display_shortcode’);
✅ What this code does:
- Detects the current page (pagination-aware)
- Counts how many products are shown
- Displays the range dynamically
- Updates automatically when navigating pages
🎨 Step 4: Style It with CSS (Optional)

You can add some light styling to match your shop layout.
Go to Elementor → Custom CSS or your theme’s stylesheet and add:
.product-count {
font-size: 14px;
color: #555;
margin-bottom: 20px;
text-align: right;
}
Want to align it left or center? Just change text-align.
⚙️ Step 5: Test the Pagination
Now view your shop page and click through pagination, you should see:
Showing 1–12 of 48 products
Showing 13–24 of 48 products
Showing 25–36 of 48 products
…and so on. 🎉
Everything updates automatically as you move between pages.
No JavaScript, no reload tricks, just clean PHP logic and Elementor integration.
🧠 Bonus: Make It Conditional
If you want to hide the counter when there’s only one page of products, you can wrap the display inside a condition:
if ($total > $per_page) {
return sprintf(‘<div class=”product-count”>Showing %d–%d of %d products</div>’, $first, $last, $total);
}
That way, your product count only appears when there’s actual pagination happening.
🔧 Alternate Method (for Non-Developers)
If you’d rather avoid adding PHP manually, you can use plugins like Code Snippets or WPCode, both let you add custom shortcodes without touching theme files.
Just paste the same function there and activate it site-wide.
Then, you can use [product_count_display] anywhere in Elementor.
🚀 That’s It!
You’ve successfully built a dynamic product count display in Elementor with pagination detection!
This tiny detail adds a big touch of professionalism and usability to your WooCommerce shop.
⌛ Don’t Have Time to Code? That’s Where White-Label Web Design Comes In.

At Right Padding, we know not every agency has the time (or technical team) to build custom features like this from scratch.
That’s exactly where white-label web design partnerships come in.
Here’s how it works:
- You get a client project — maybe they want a complex WooCommerce layout or custom Elementor feature.
- You send us the brief — we handle the design, coding, and integration.
- We deliver it fully white-labeled — under your brand, no mention of Right Padding.
- You present it to your client as if your in-house team built it.
✅ You stay focused on strategy and client relationships.
✅ We handle all the design and dev work quietly behind the scenes.
✅ Your client stays happy, and you look like a full-service pro.
For example:
- A marketing agency might hire us to build custom Elementor widgets or dynamic WooCommerce templates.
- A branding studio might have us develop full WordPress sites based on their Figma designs.
- A freelancer might outsource complex technical tasks so they can focus on creative work.
In all cases, you get full credit, we just make it happen faster.
Building features like pagination-aware product counts in Elementor shows how powerful and flexible WordPress can be, even without heavy plugins.
But if you’d rather skip the coding and focus on scaling your agency, a white-label partnership with Right Padding is your shortcut to professional, production-ready web design.
We handle the build, you handle the brand.